Spotlight On: Openfit

Spotlight On: The Openfit App

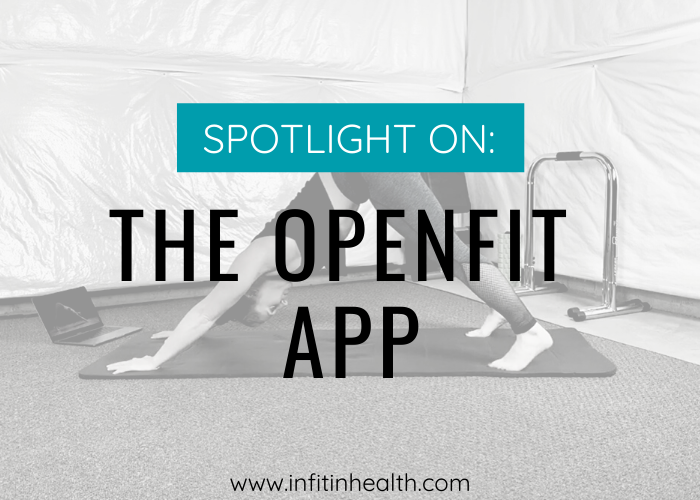
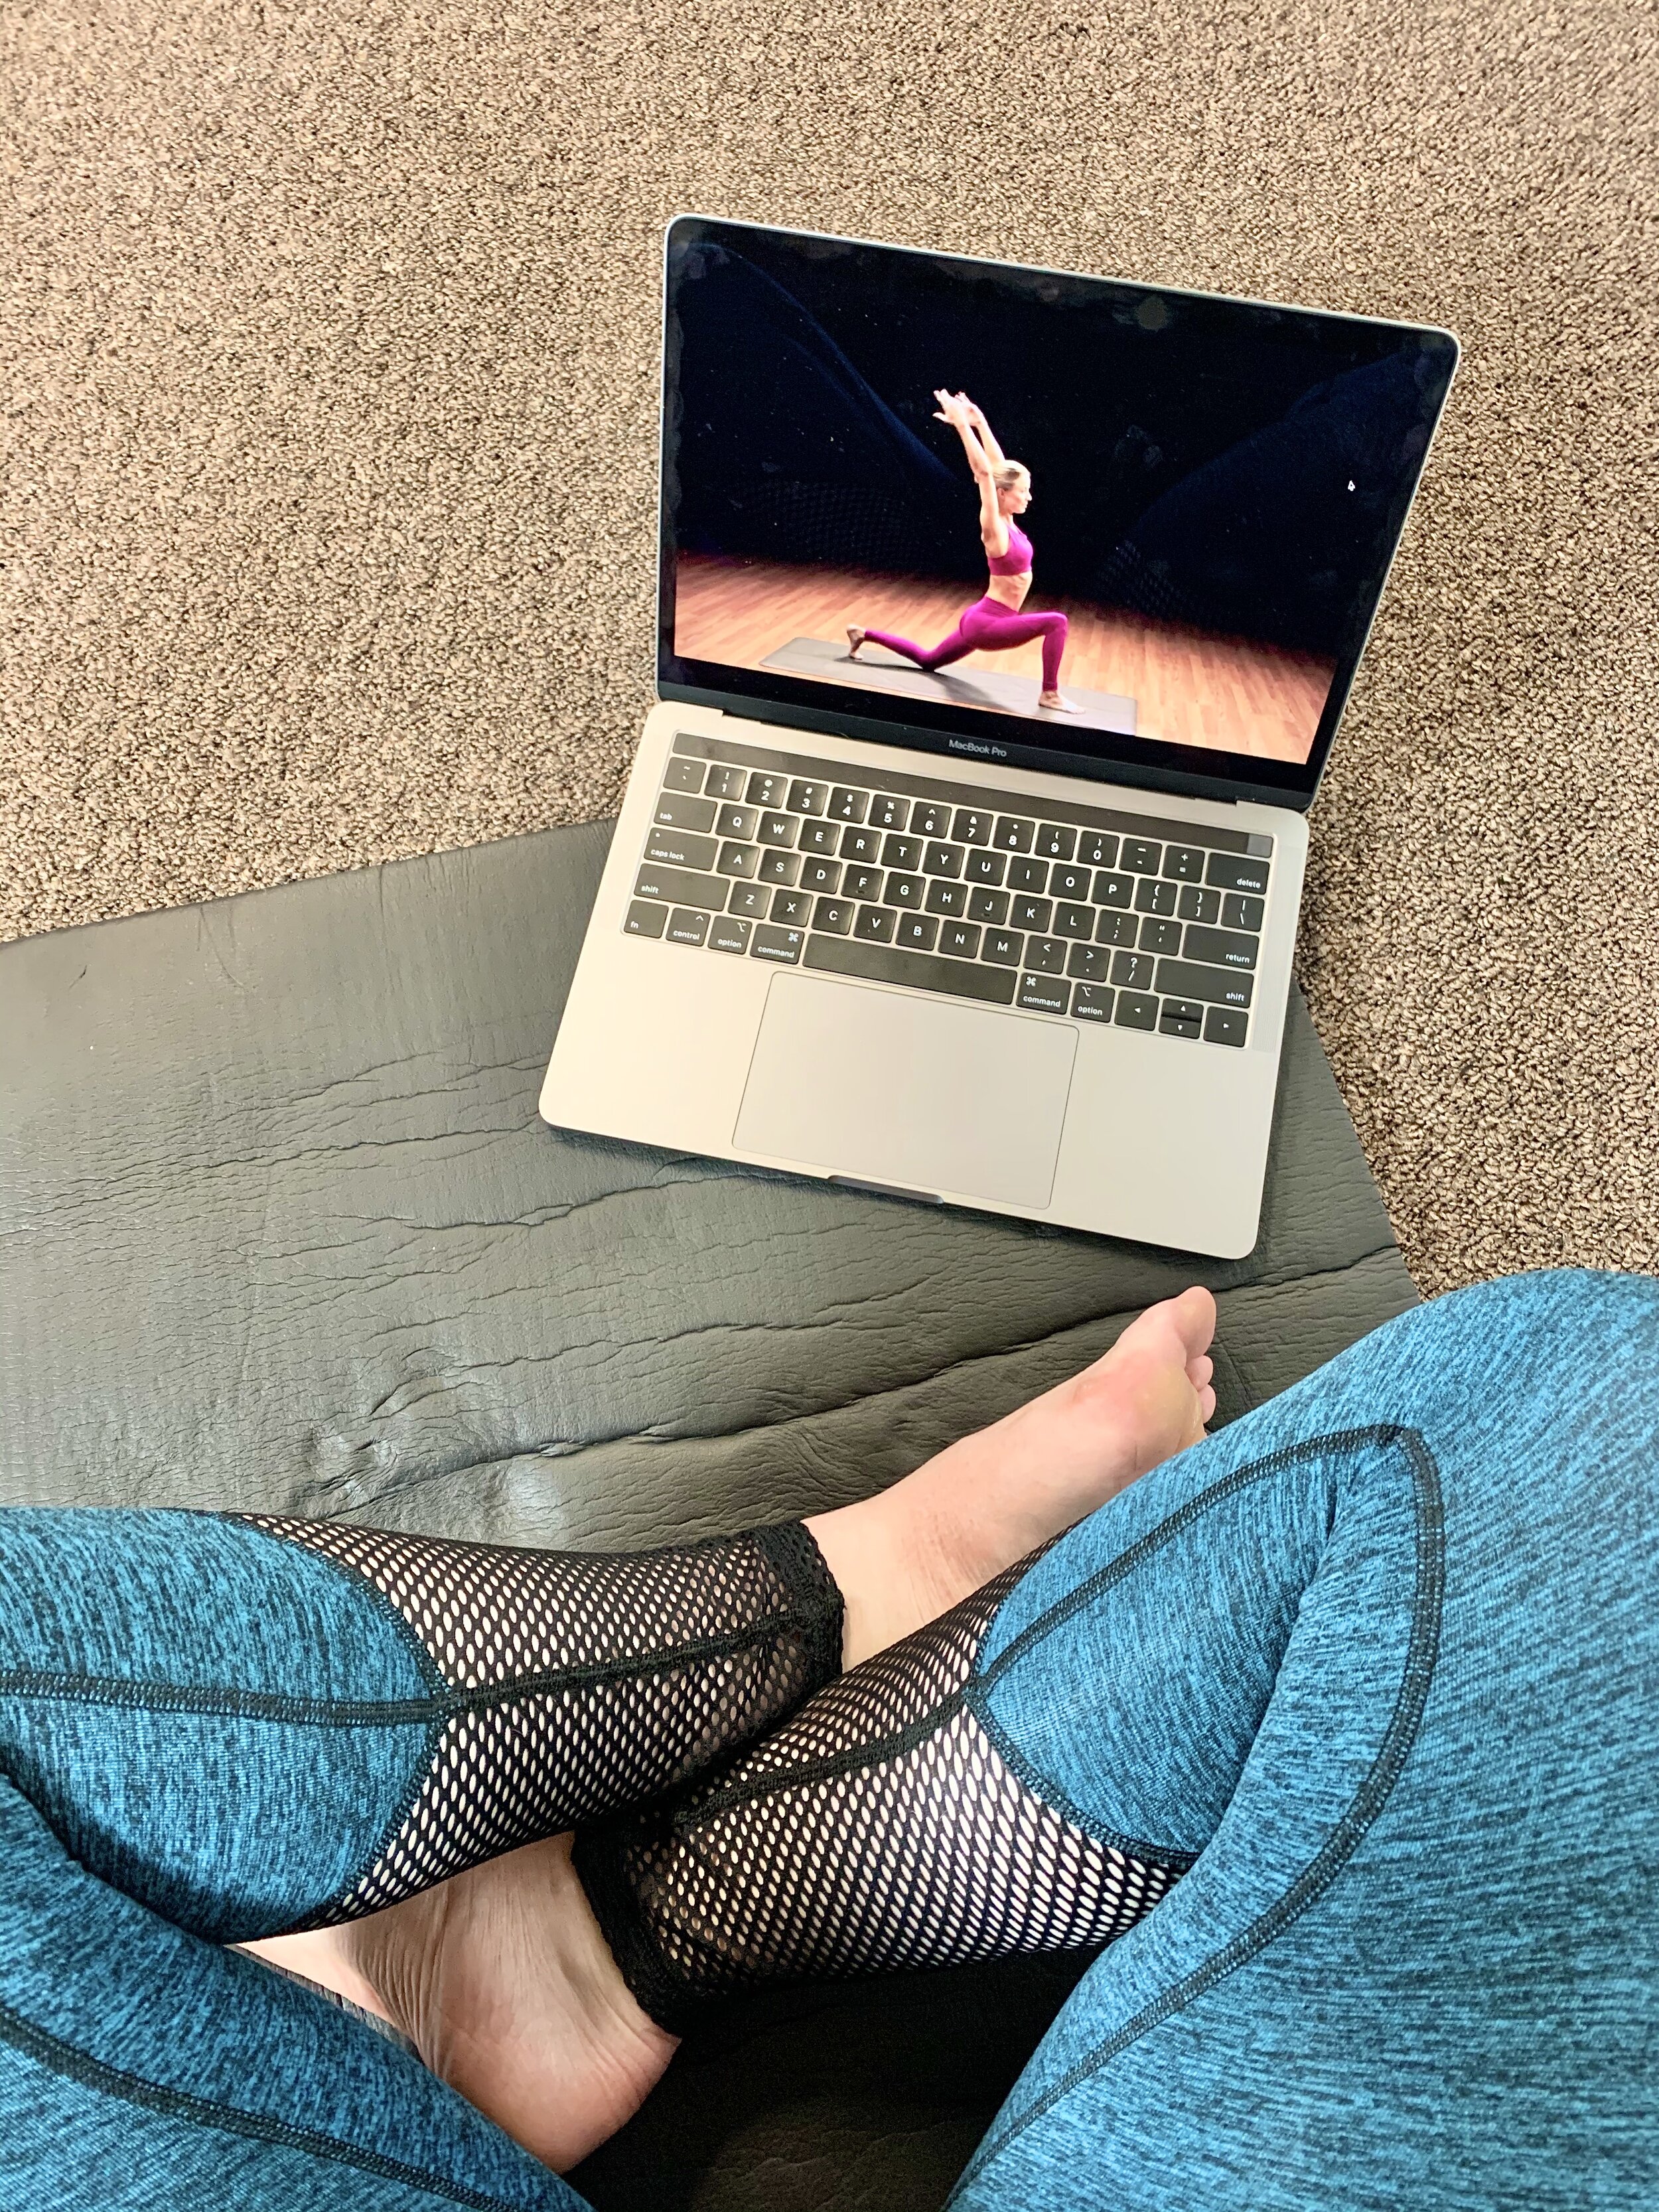
Web- and app-based fitness is all around us. It seems like everywhere you turn, there’s a new way to access some type of workout online in the privacy of your own home. And guess what - that’s not a bad thing! I recently got the chance to try a new-to-me app called Openfit, and let’s just say it’s become my go-to for doing yoga recently. I’m terrible at yoga, I’m not flexible whatsoever, and I just can’t seem to bring myself to go to a yoga class on a consistent basis. Enter: Openfit… where I can do guided yoga in the privacy of my own basement.

Openfit
Openfit

What Is Openfit?

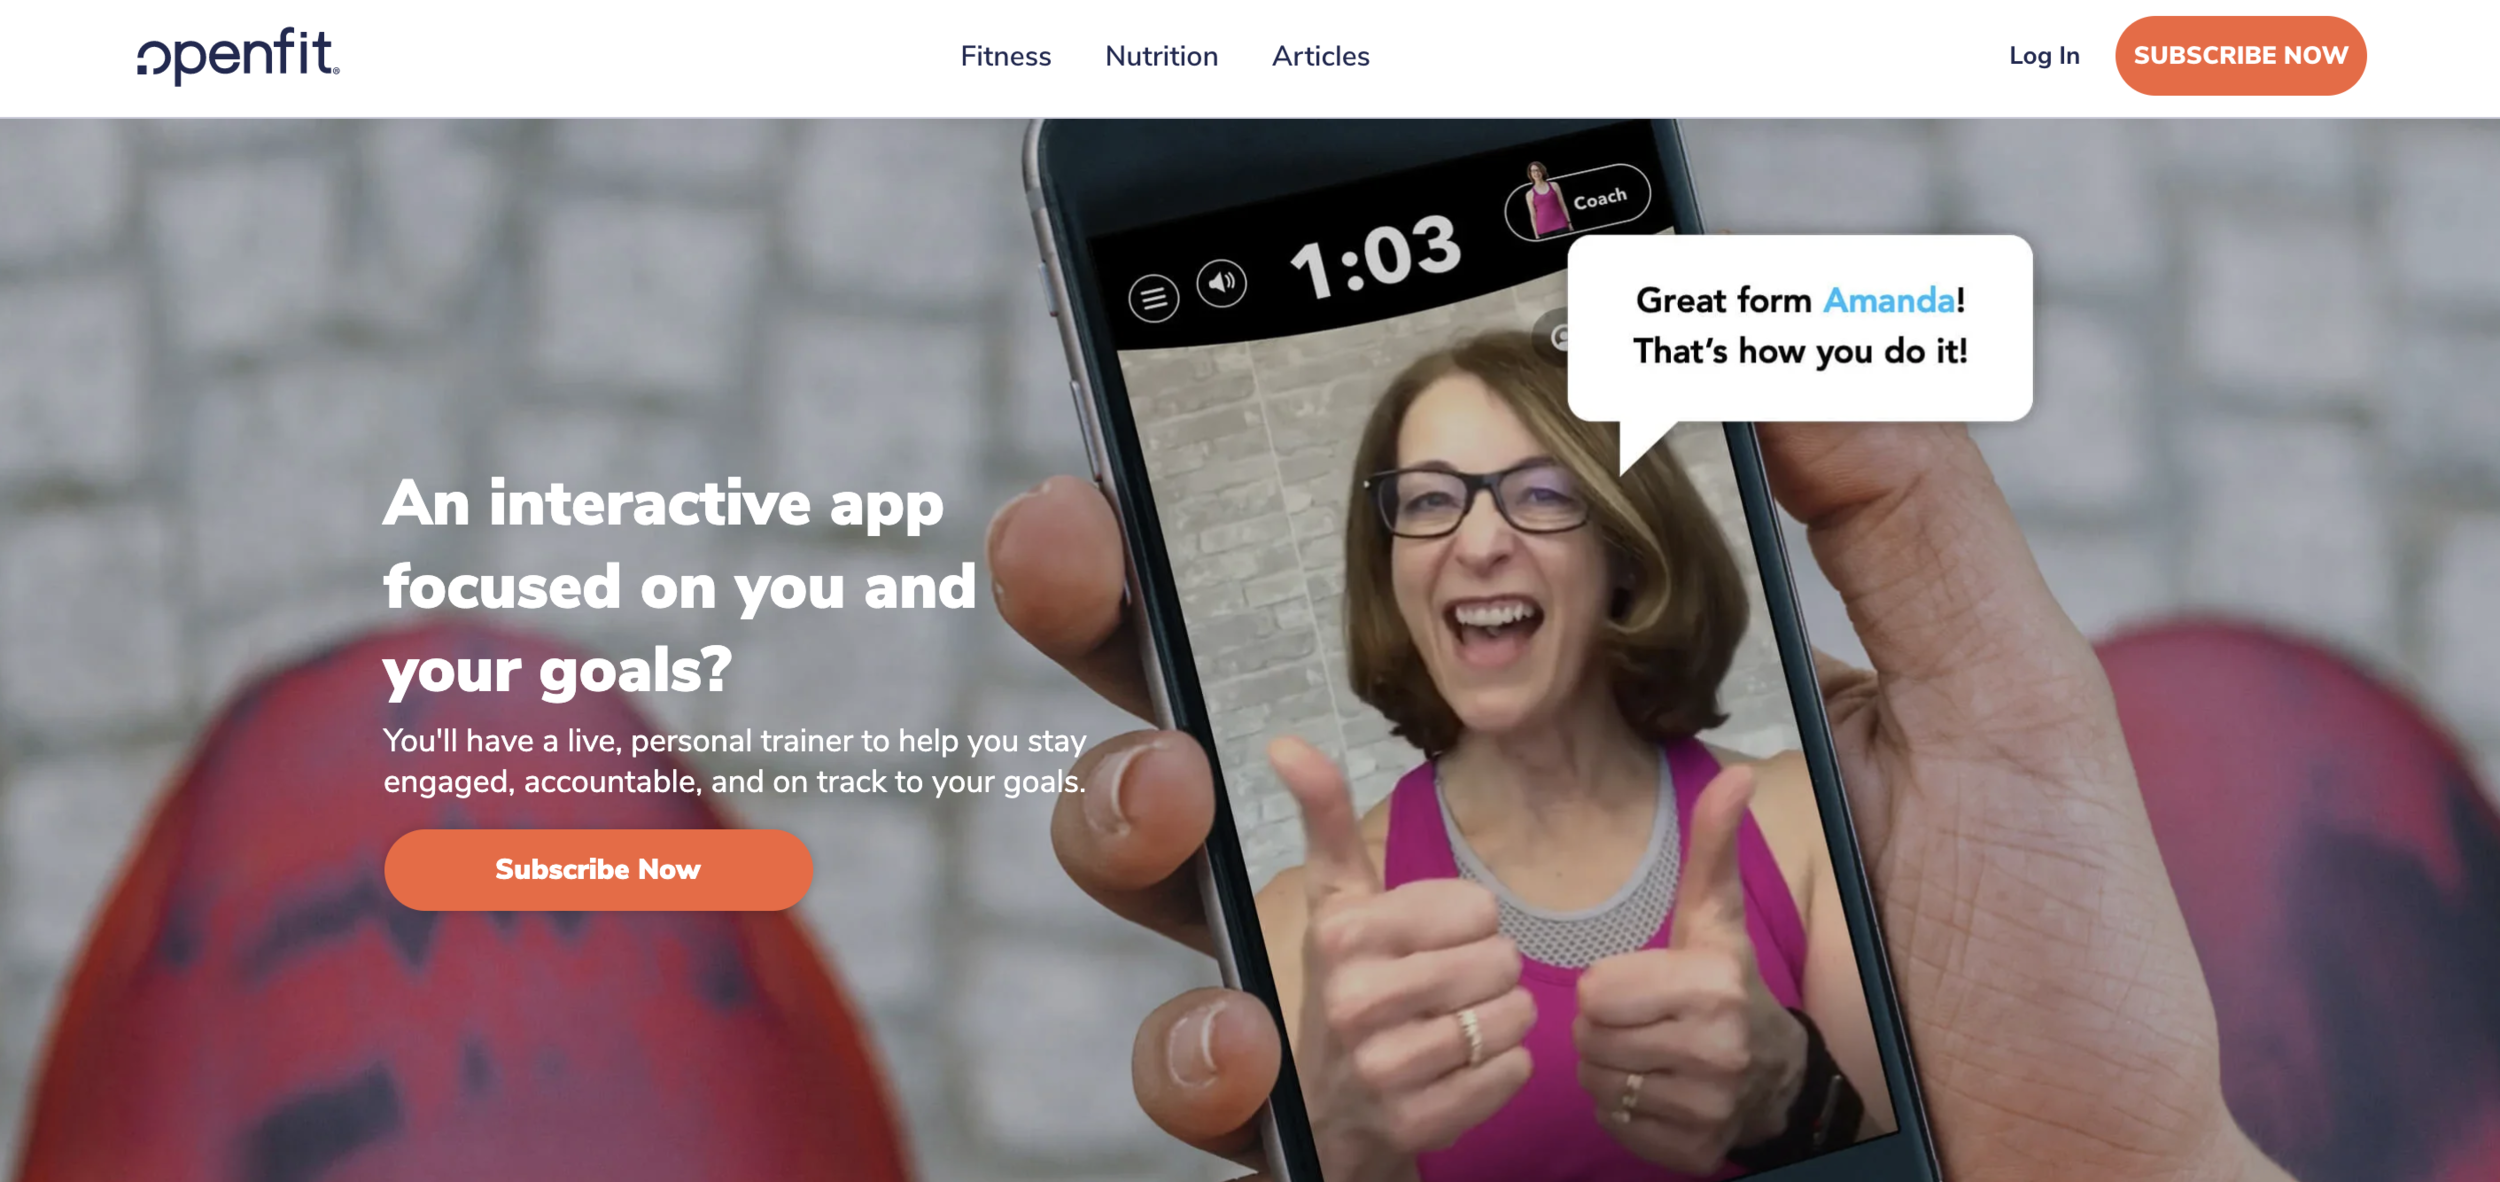
Openfit is an online workout platform that provides both live and on-demand workouts of all types: HIIT, yoga, cardio, strength training, with equipment, without equipment, etc. All workouts are accessible through their website and the app, making it a really convenient option since you can use a TV, a computer/laptop, your iPad or phone, etc. to view them. They have 6 different signature programs, each with pre-recorded options or live class times that you can register for. Each format has multiple classes within it, and most of them are designed so that you follow a program for a few weeks/months to see it through (as opposed to just a one-off workout).

Xtend Barre
A mix of Pilates and ballet-inspired movements to lengthen and build muscle.
TIme: 30 minutes
Equipment: mat, pilates barre

XB Pilates
A mix of mat and reformer-inspired Pilates movements to build a stronger core.
Time: 30 minutes or less
Equipment: mat

Rough Around The Edges
Martial arts inspired high intensity workouts led by professional stuntwomen.
Time: 30 or 40 minutes
Equipment: bodyweight, dumbbells

Tough Mudder T-Minus 30
This is a 30-day training program designed to prepare your mind and body for a Tough Mudder obstacle course. Think endurance and conditioning workouts tailored for the obstacles you’ll face in the course.
Time: 30 minutes or less
Equipment: bodyweight, dumbbells, pull up bar

600 Seconds
A series of 10-minute workouts divided by muscle group (e.g., 600 Seconds of Upper Body, 600 Seconds of Core, 600 Seconds of Cardio, etc.)
Time: 10 minutes (600 seconds ;) )
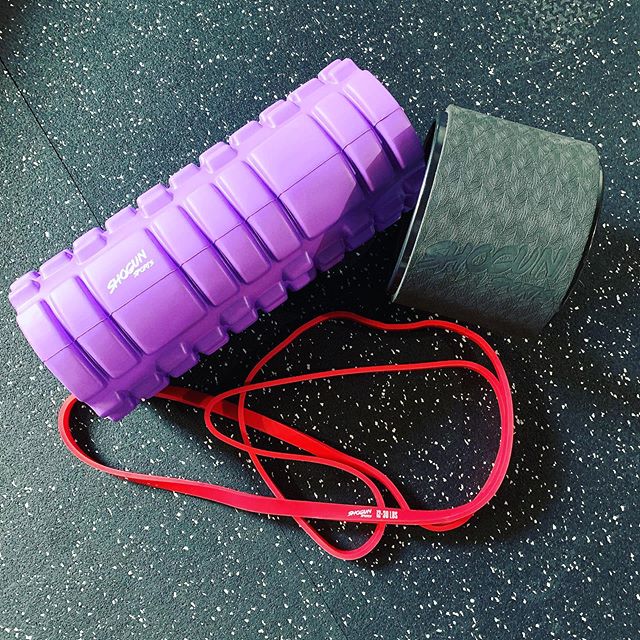
Equipment: bodyweight, dumbbells, resistance bands, foam roller

Yoga 52
Mostly Vinyasa type yoga with a mix of Yin, broken up into levels (1 = beginner, 2 = intermediate, 3 = advanced).
Time: 30 or 45 minutes
Equipment: mat and yoga blocks if wanted

All workouts listed have live versions that you can attend (you simply register within the app or website for a time that’s listed), or watch recorded versions wherever is convenient. I’ve been doing the Yoga 52 in my basement at home, but some of these workouts would be great for in the gym if you need a little guidance or ideas for what to do.

It’s not just workouts, it’s also nutrition

We all know nutrition is a huge part of reaching our health and fitness goals, but you may not know where to start. Or maybe you’re in a rut trying to think up new and interesting recipes while still maintaining a healthy diet. Openfit offers a somewhat customized nutrition plan builder that can take the guesswork out of meal planning. They ask a series of questions about your goals and lifestyle habits, whether or not you have any dietary restrictions (and options to check off options), and they build a program from there. Of course this doesn’t take into account allergies or other medical conditions, but for the general population, it could be a good way to stay accountable. They also have a whole library of recipes to choose from, all of which sound delicious, so it could also be a good option for someone looking to spice up their meal plan.

Openfit

Okay, but how much does it cost?

Yes, Openfit is a subscription-based app, but for the options you get, I don’t think it’s unreasonably priced. Right off the bat you get a 14-day free trial. From there you can choose one of three plans: $39/mo, $59/6-months, or $89/year (current intro offer). Obviously the 12-month plan is the best bang for your buck ($7.42/mo if you do the math)—and for what you get, that’s a STEAL!

My takeaway

This is a great app for someone who’s relatively self-motivated to work out on their own and just needs a little guidance on what to do/how to do it. I think this is a great option both for someone with a home gym/some basic equipment that wants to work out at home as well as someone who has a gym membership and just needs some good ideas for what to do. It would also make a great gift idea! Bottom line: if you can hold yourself accountable to actually USE it, take the plunge!

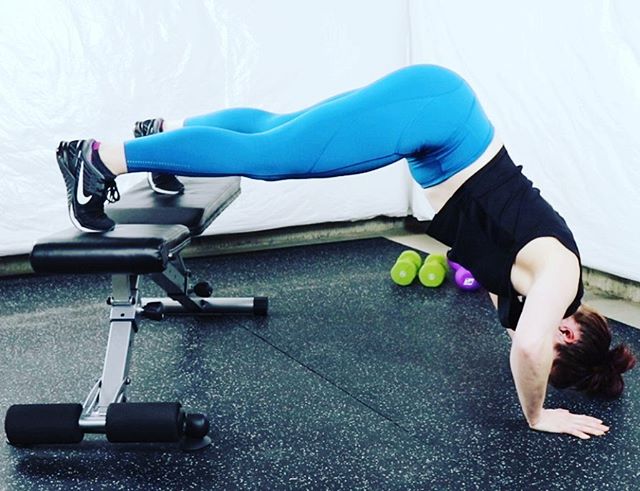
I’ll leave you with a link to a hyperlapsed video from my IG feed of my yoga flow following along with Yoga 52 (clearly I need to work on my flexibility!).

33 Likes, 2 Comments - 𝗘𝗹𝗹𝘆𝗻 𝗙𝗲𝗿𝗿𝗶𝘁𝗲𝗿, 𝗠𝗣𝗛, 𝗖𝗣𝗧 (@infitinhealth) on Instagram: "💫𝗕𝗘𝗚𝗜𝗡𝗡𝗘𝗥 𝗬𝗢𝗚𝗔 𝗙𝗟𝗢𝗪💫 - 🧘‍♀️Truth: I suck at yoga. So much so I'm usually embarrassed to be seen..."

Readers: chat with me! Have you heard of Openfit before? Have you ever done app-based workouts like this? Is this something you’d be interested in? What’s everyone been up to lately??

Spotlight On: The Dosha Mat & Acupressure

Spotlight On: The Dosha Acupressure Mat

You’ve probably seen pictures of these spiky little mats floating around social media and wondered what in the world they are and why on earth anyone would want to lay on a bed of almost-needles. Those were my first two thoughts when Dosha Mat reached out to me… but I have to admit, I was pleasantly surprised. I’ve used this mat on and off for the past year, and put it to heavy use earlier this year when dealing with some serious anxiety. I was certainly skeptical at first, but I can see its benefits now.

What is The Dosha Mat?

The Dosha Mat is an acupressure mat designed to help increase bloodflow throughout the body in order to ease pain and aid in relaxation. It’s similar to massage and acupuncture, minus the needles and need for a professional. This mat, along with many others like it on the market, have tiny little buds of hard plastic spikes (as you can see below) that press on the skin when you lay, sit, or stand on the mat. These buds are designed to alleviate tense muscles, help with back/neck/shoulder pain, and with continued use, reduce stress and promote sleep.

Dosha Mat

Unlike those other mats on the market, however, Dosha Mats are made from 100% eco-friendly materials. They have a natural linen cover that’s hypoallergenic with a removable pad made from coconut fibers. What’s more, the plastic buds are surgical-grade, so you don’t have to worry about introducing harmful chemicals into your skin or having some type of allergic reaction. I’ve found that I really like the removable cover, too, in case you need to clean it (by hand — you can’t put this one in the washing machine). All in all, this is a really high quality product.

First Impressions

I’ve been using the mat on and off for over a year now. When I received the mat, I was immediately skeptical — what IS this thing? I took off my socks, stepped on it, and just about screamed in pain. Those little lotus flowers are SHARP! So I put my socks back on and tried again. A little better, but not much. Now, I’ll be honest here, after this initial introduction, I rolled the mat up and stored it under my bed for quite some time. That is until earlier this year when I was having severe anxiety attacks just about every day.

Dosha Mat & Relaxation

It was my last semester in graduate school and my culminating project (Master’s thesis essentially) was getting the run-around from my professors and I couldn’t fathom continuing on. I’m not an anxious person by nature, but this semester had me worked up beyond belief. After one particularly bad day, I decided I needed to get this anxiety under control by any means necessary or it was going to eat me alive and I probably wouldn’t graduate. I’d been hearing a lot about essential oil diffusion and meditation, so why not give that a try… and break out my Dosha Mat from hiding, too. And that’s what I did — every night for about 3 months straight. I laid on the mat next to my bed, put lavender oil in my diffuser, and listened to calming music to tune out my thoughts.

Do I think the mat helped? Yes, yes I do. It sounds strange, but laying on tiny spikes was actually relaxing, but not sleep-inducing. The prickly sensation was enough to keep me awake so I could actually enjoy the meditation, but it was also nice to have that warm, blood circulation feeling before bed.

Dosha Mat

How I’m Using It Now & Things to Consider

I don’t use the mat quite as often now, since my anxiety has diminished substantially after graduating. I try to use it every Sunday night though to help calm nerves before the work week and to really get a good relaxation routine going. After using it this year, here are a few final thoughts and things to consider:

  • Wear clothes and socks when trying it for the first (few) time(s). Not going to lie: this mat HURTS if you stand or lay on it with bare skin. Frankly, I’m not sure how anyone does that even after months of use. My recommendation is to wear thicker socks and clothing to start out while you get used to the sensation. After a while, try it out with thinner clothing and if you want, bare skin.

  • Lay down on it slowly. If you just plop yourself down on this mat, you are going to feel it (in a bad way)! Dare I say the little flowers might actually stab you if you collapse onto it. I found sitting down on it for a few seconds works best to get my body used to the pricks, and then slowly roll down onto your back from there.

  • Don’t be surprised if your skin gets temporarily red and indented. I can’t say I was surprised at the fact that my skin got red — I do have quite sensitive skin, after all. But looking at my back after laying on the mat for 5-10 minutes was a bit of a shock. Red and indented. I’ll take that as a good sign though that the mat actually does increase bloodflow and improves circulation.

  • It’s expensive, but you get what you pay for. The mat itself runs $99 full price, but they are on sale for $79 right now. I’ve done some research and mats like this on Amazon range from $20-$230. Not sure on the uber expensive ones, but I can almost guarantee the cheap ones are not made from a high quality plastic/cloth. The Dosha Mat certainly is, and you can tell right when you open the package.

Dosha Mat

Readers: chat with me! Have you ever used an acupressure mat before? Have you even heard of/seen one? If so, what was your experience like? If not, is it something you’d like to try? How do you deal with anxiety when you’re in a panicked state?

Disclosure: I was gifted this acupressure mat from Dosha Mat in exchange for my review and honest opinion on here on the blog. As always, I only post about products I actually use and enjoy myself, and all opinions, photos, and copy are my own. Thank you for supporting the brands that support this blog!

BlogSignature_2018_small.png

Plyo Box Total Body & Core Workout with Power Intervals

Plyo Box Total Body & Core with Power Intervals

HELLO FRIENDS!! It seems like it’s been forever since I posted a full workout here on the blog! Full details on that are coming up in a future blog post, but it’s been silent on here for good reason: I GRADUATED GRAD SCHOOL!! Yep, I now have an MPH (Master of Public Health). I couldn’t be more excited! I’ll update you on the full graduate school experience soon. For now, let’s get to sweating!

I’m partnering with Power Guidance for today’s workout. Who doesn’t love building POWER in their training? I love a good high intensity, short duration power interval, and what better way to add that in than plyometrics? Today we’ll use a plyo box, which I love to use either by itself or in combination with other equipment to elevate your workout intensity. You can do some pretty fun things with it!

The plyo box here is a 3-in-1 soft foam plyo box from PG. It’s a pretty decent addition to any home gym, being super lightweight (17 lbs), and very easy to move in and out of storage. The soft foam makes plyometric exercises a lot less scary since your shins will be spared if you do happen to trip or fall. One thing I like about solid boxes like this is that you can’t see through the bottom like platform plyo boxes (for some reason that always makes me anxious, even if I know I can clear the height). The height on this one is adjustable (20”/26”/30”) and it’s labeled nicely for ease of use (great for transitions between exercises). The only thing I found a bit off about this box is that at the 30” height (for which I wanted to use for box jumps), it seemed a bit unstable. It could just be this particular box, but I think the fact that it’s so lightweight plays into its instability at the highest setting. At $179.99, I would expect a stable box all around. That said, you’d be fine to use the 30” side for other exercises that don’t require you to jump on top of it.

Ready to jump (pun intended) into today’s workout?? Read the description below and follow along with me on Instagram to see videos of these moves!

Plyo Box Total Body & Core with Power Intervals

[Plyo Box] Total Body & Core Workout with Power Intervals

What You’ll Need: a soft plyo box like this one from Power Guidance, or another sturdy box/surface that you’re comfortable jumping on and off of.
What You’ll Do:
you’ll do every strength exercise for 4 sets of 20 seconds on, 10 seconds rest. After 4 sets of strength, do the corresponding power move for 30 seconds at max effort, all-out intensity. Rest 30 seconds before starting the next strength move (if needed).
Total Time: 12 minutes

Strength 1: Elevated Glute Bridges (4 sets) - lie down on your back and place your feet on the edge of the plyo box, hands by your sides. (shown) Press through your feet and push your hips upward, squeezing your glutes as you press. Lower back down to start.

Power 1: Box Jumps (30 seconds) - Set the plyo box to the height that you are comfortable jumping (mine is set to 20”, but I definitely could have gone higher). Bend your knees and swing your arms back to load the jump, then propel yourself up to jump on top of the box. Land with your feet flat and bend your knees to soften the landing. Stand up, step back down (jump down if you’re comfortable), and jump up again. Keep jumping at maximal effort for 30 seconds. Trainer Tip: think about jumping by bringing your knees to your chest so you clear the box instead of bringing your heels back to your butt. You’ll get more height, and be able to land firmly on top.

- rest 30 seconds if needed -

Strength 2: Decline Push Ups (4 sets) - Get into a plank position with your feet elevated on the box, shoulders directly over wrists, abs engaged. From here, lower your chest toward the floor, and push back up. Trainer Tip: when your feet are elevated, there is a lot more emphasis on your abs and core to brace your back. Make sure you keep your back straight here and not let your hips dip down.

Power 2: Single Leg Hop Overs (30 seconds) - Start standing parallel to the plyo box, with the inside foot flat towards the middle of the box (shown). Push through your foot and hop laterally up and over the box (shown), landing on the opposite side (shown). Immediately push back up and over. Keep alternating for 30 seconds, max effort!

- rest 30 seconds if needed -

Strength 3: Balanced Hold to Boat Pose (4 sets) - sit on top of the plyo box so your weight is in the middle. Balance yourself and lower down so your body is in a hollow hold position, arms either overhead or in front of you (shown). From here, use your abs to pull yourself up to boat pose, bringing your knees toward your chest (shown). Trainer Tip: You can either keep your legs extended so your calves are parallel to the floor (harder), or bring your heels closer to the box (shown - easier).

Power 3: Squat Jump Taps (30 seconds) - Start sitting on the box edge, feet firmly planted (shown). From here, push through your legs and jump up as high as you can (shown). Come back down, tap your butt to the box, and jump back up again. Repeat jumps for 30 seconds all-out effort. Trainer Tip: the “taps” to the box should be just that - taps. You’re not sitting back all the way, so you should still feel pressure through your quads.

- rest 30 seconds if needed -

Strength 4: Figure 4 Knee Dips (4 sets, alternate legs each round) - Get into a plank position with your feet elevated on the box. Start with your right leg bent so your foot is placed on the inside crook of your left knee, making a figure 4 with your legs (shown). From here, bend your left knee down toward the floor (shown) as low as you’re comfortable without collapsing down off the box, then raise it back up. Alternate legs each round. You should feel this in your quads on the leg that’s moving.

Power 4: Lateral Hops (30 seconds) - Place your hands on the plyo box, with your weight shifted over to the left to start (shown). Jump up, shifting the weight onto your hands, and bring your heels toward your glutes (shown). Land on the right side (shown). Immediately jump back up and to the left, using the floor as kind of a “trampoline.” Keep going for 30 seconds as fast and high as you can.

Readers: chat with me! Do you use plyo boxes in your training? Which style do you prefer (soft vs. wood vs. platform)? Do you add in quick bursts of power/plyo in your training? I’m a HUGE fan! What are your favorite plyo box moves??

Disclosure: I was gifted this plyo box from Power Guidance in exchange for my review here. All opinions, photos, workout images, and product descriptions are my own, just like always! Thank you for supporting the brands that support this blog!

BlogSignature_2018_small.png